1 Point Perspective Drawing - Complex Shapes and Shading
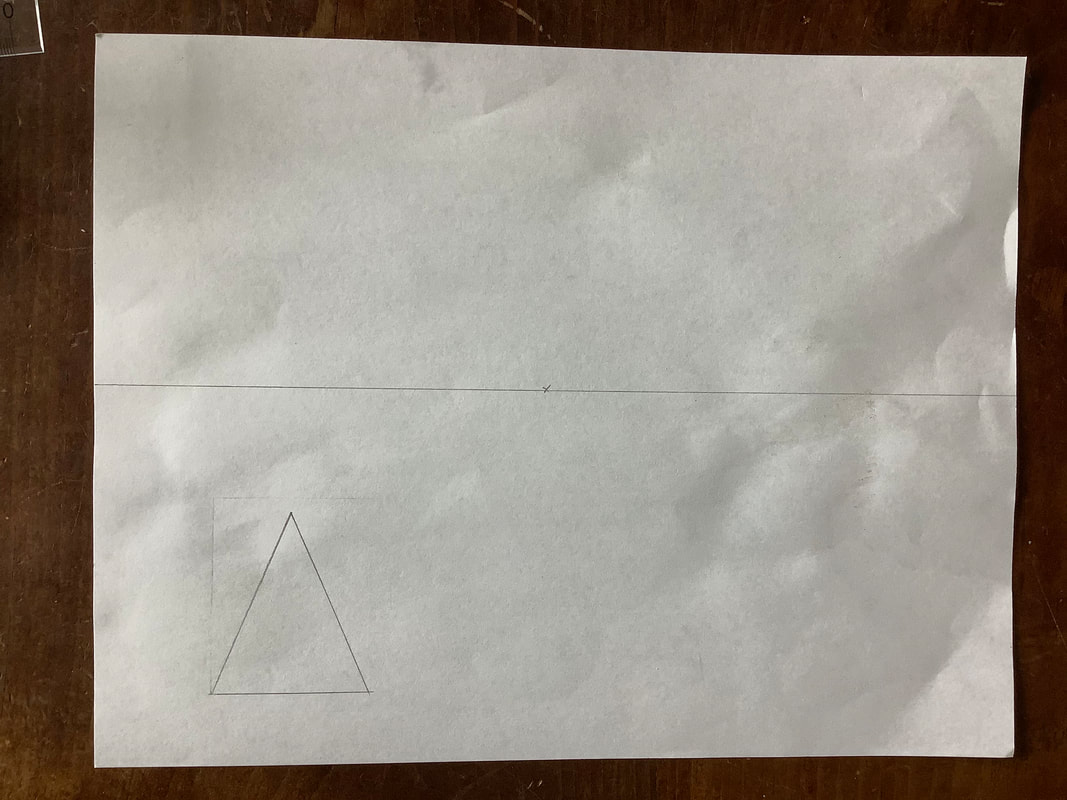
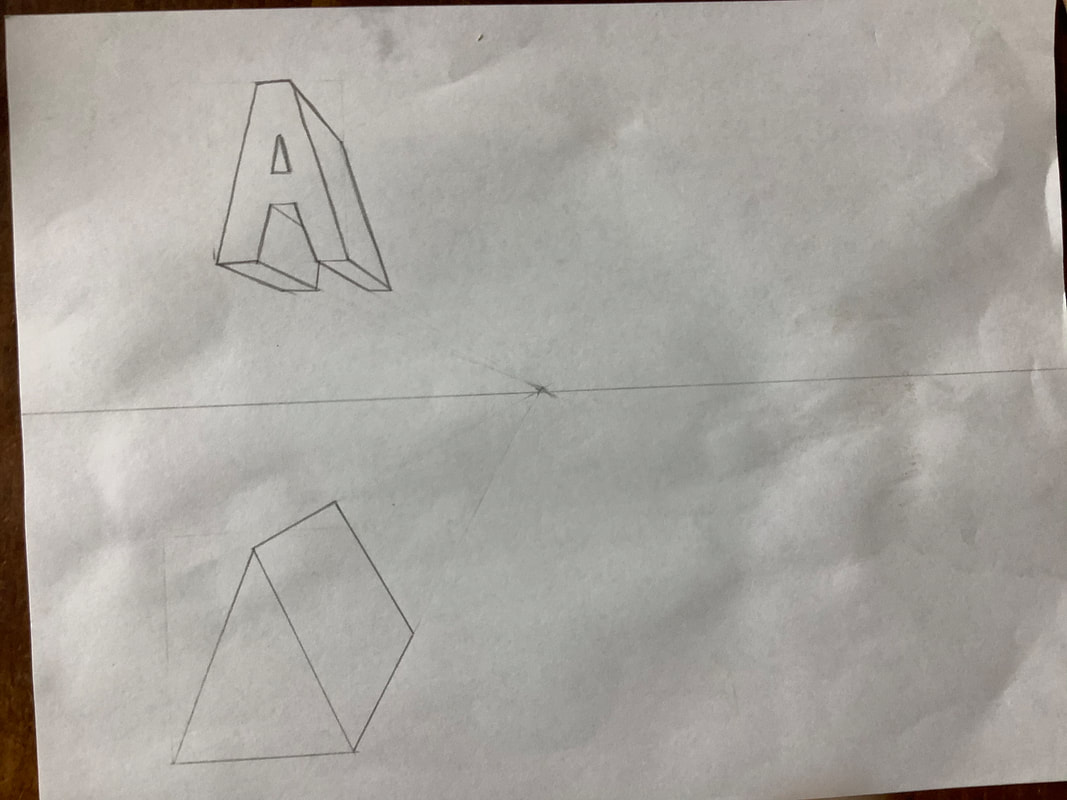
After drawing in a Horizon line (the line in the center of the page that represents where objects would seem to disappear in the distance ). Add a Vinshing point in the center of the page and Draw a triangle.
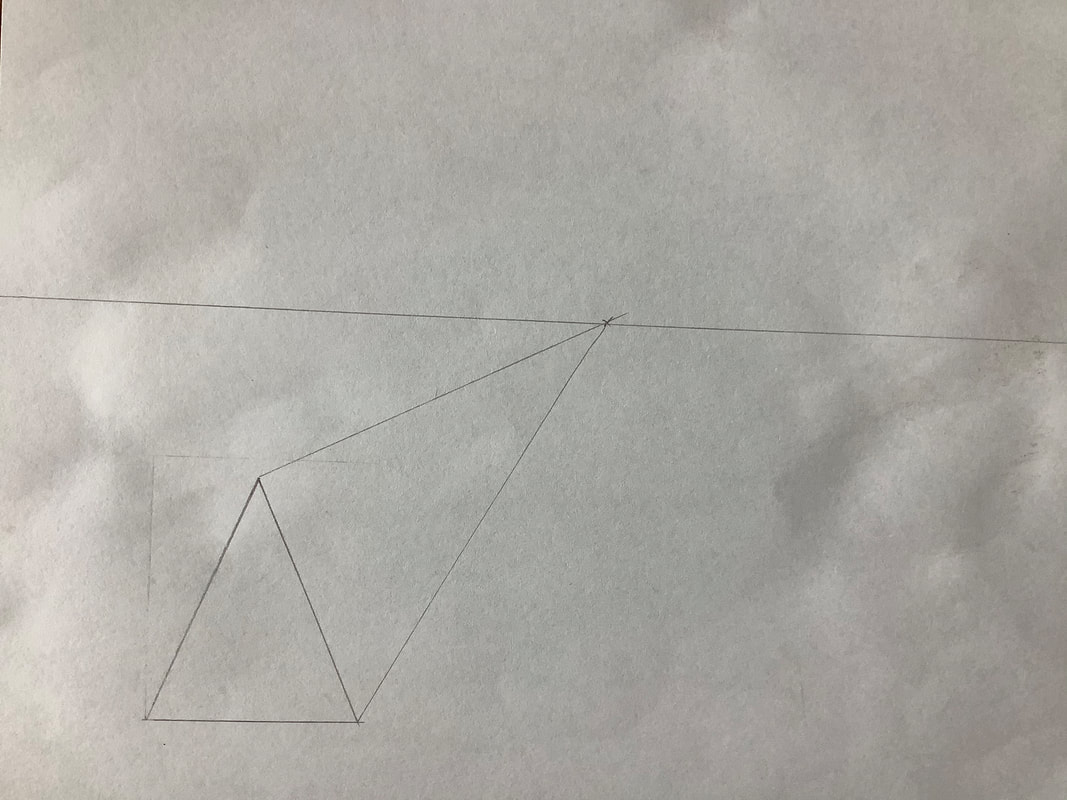
Connect the closest edges back to the vanishing point with some construction lines (light, erasable lines used to help build structure for your final drawing)
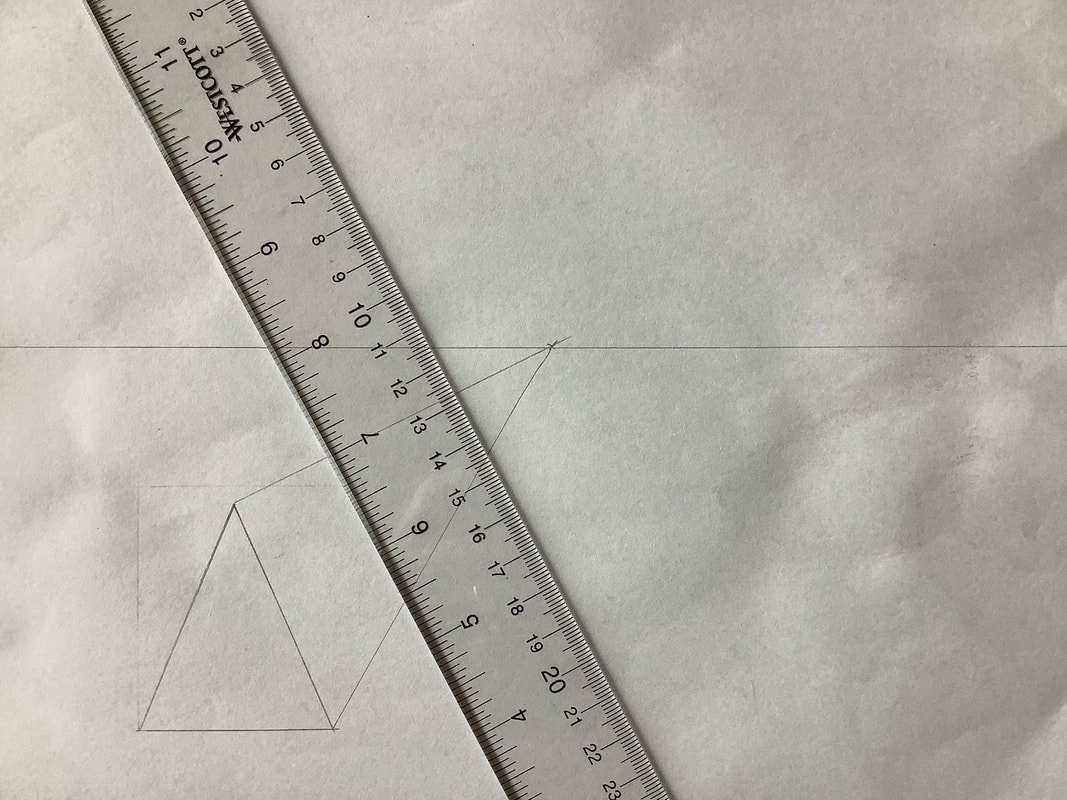
Place your ruler on the page, keeping it parallel to the edge connected to the vanishing point and draw in a line to close off the shape and make it 3 dimensional.
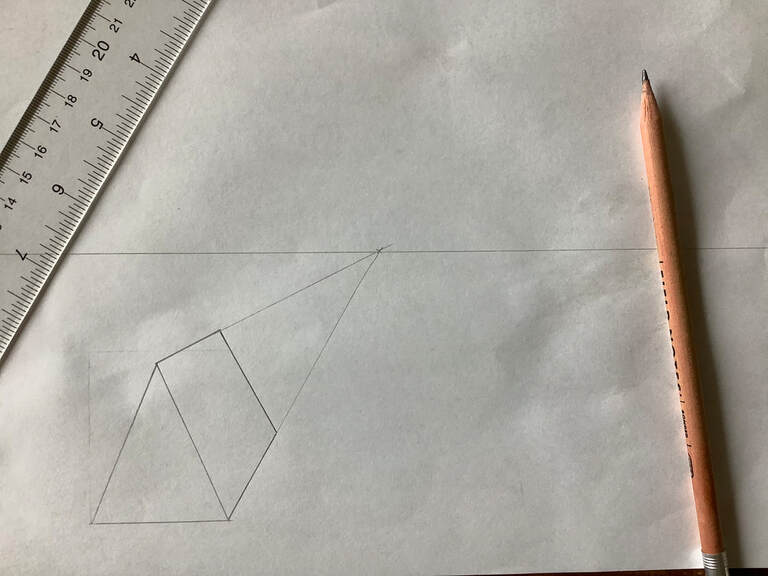
Your triangular prism is finished.
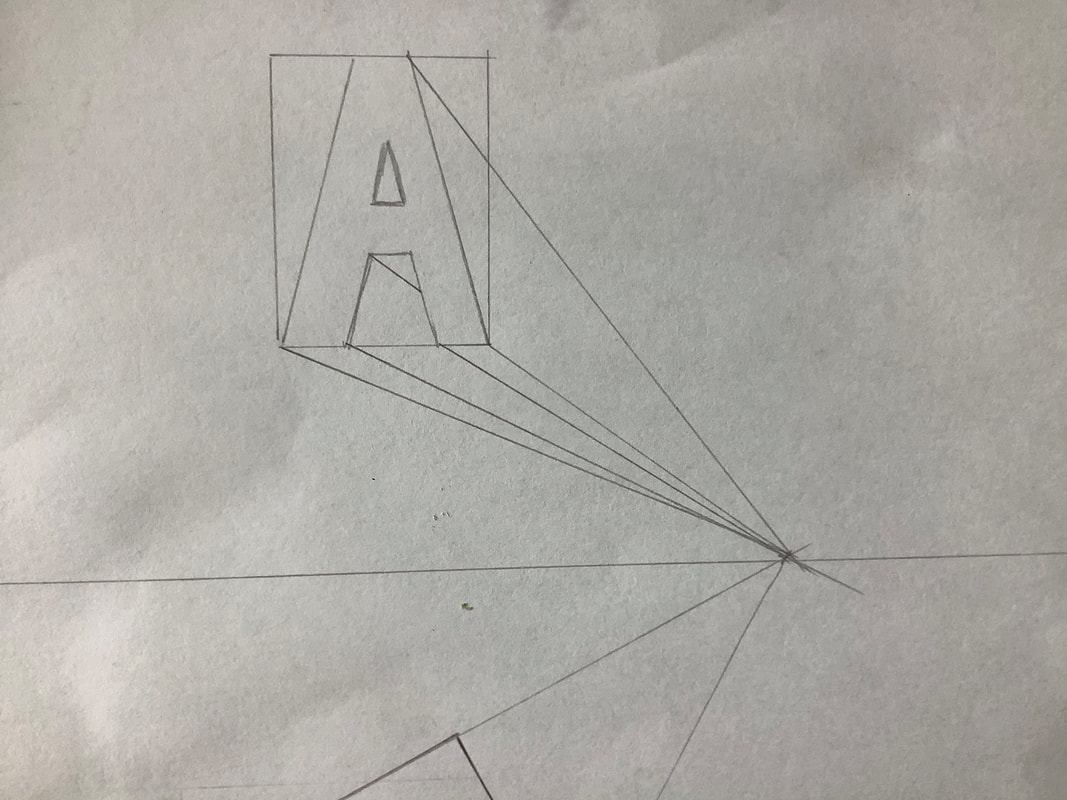
The second thing I want you to try is to take a letter and make it 3 dimensional using 1 point perspective. Start with a lead rectangle and draw the letter A inside the rectangle extending to the top bottom and sides of the rectangle as much as you can. Connect the closest corners back to the vanishing point and don't forget inside the lower part of the letter. Notice how I stopped drawing the line back to the vanishing point when this line met the letter itself. You don't have to draw every construction line all the way back to the vanishing point. I am doing it to keep all my steps visible until the end.
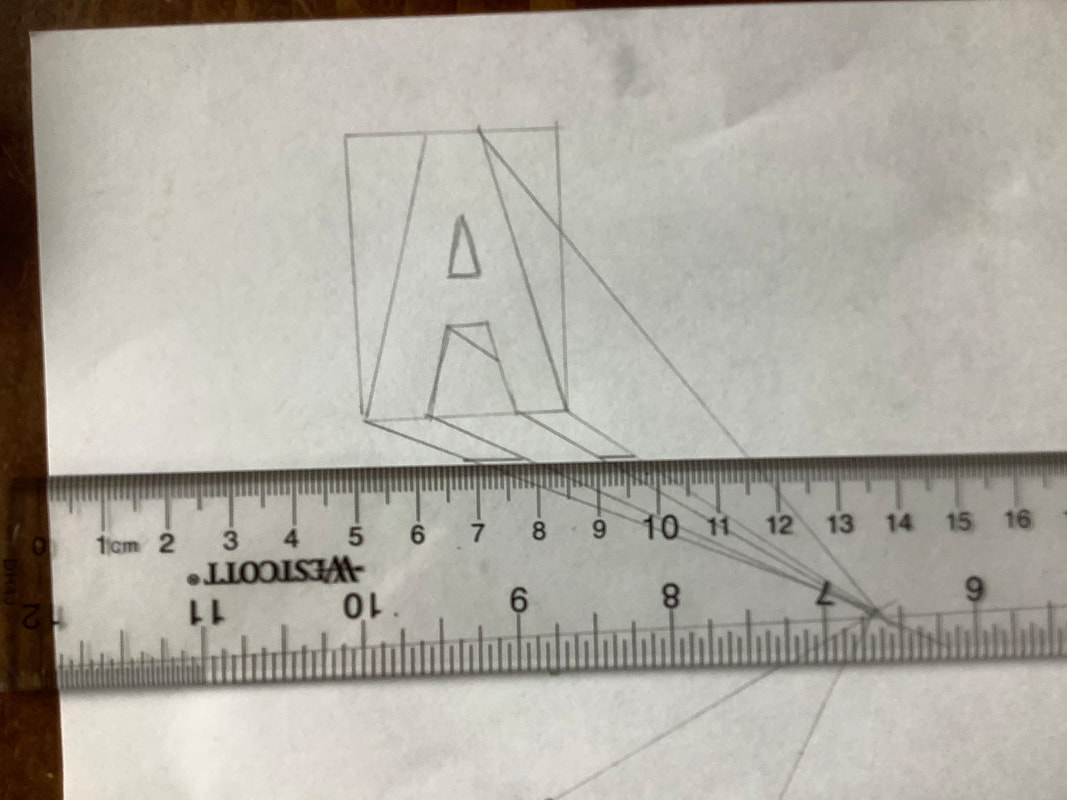
Draw in lines for the bottom legs of the letter. Please make sure to make them parallel to the original letters
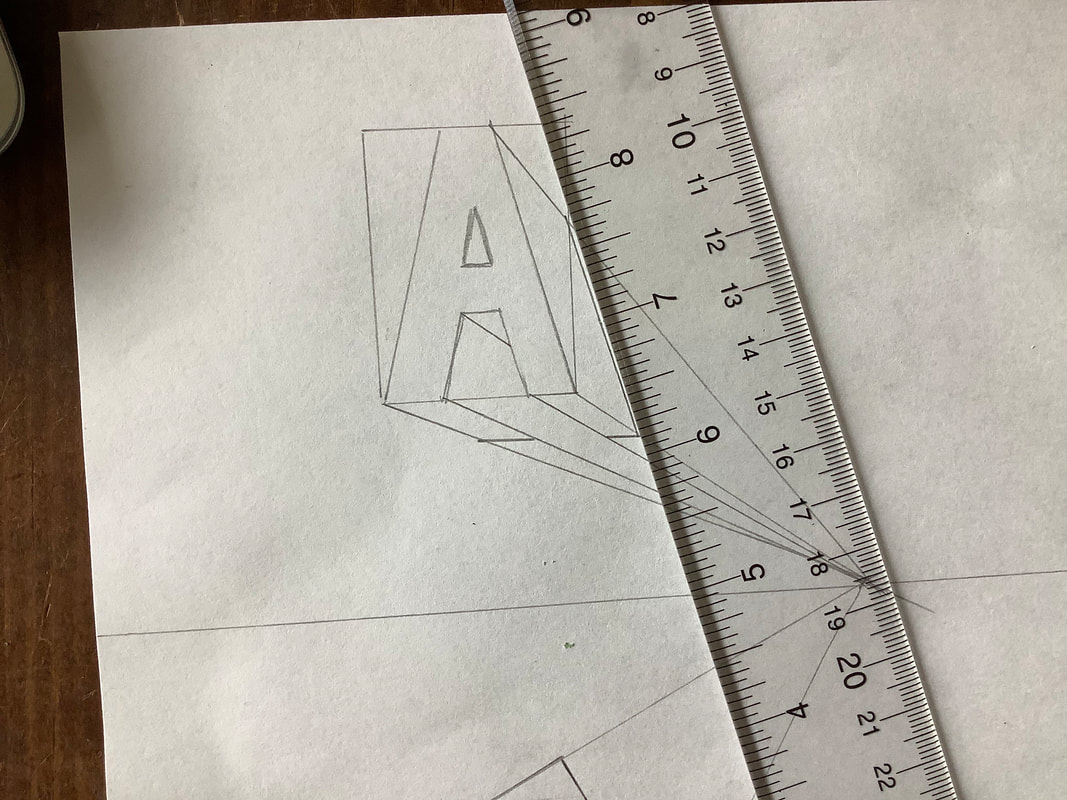
Close off the side with a line parallel to the side of the original letter.
And... don't forget to include a line to close off the inside of the leg!
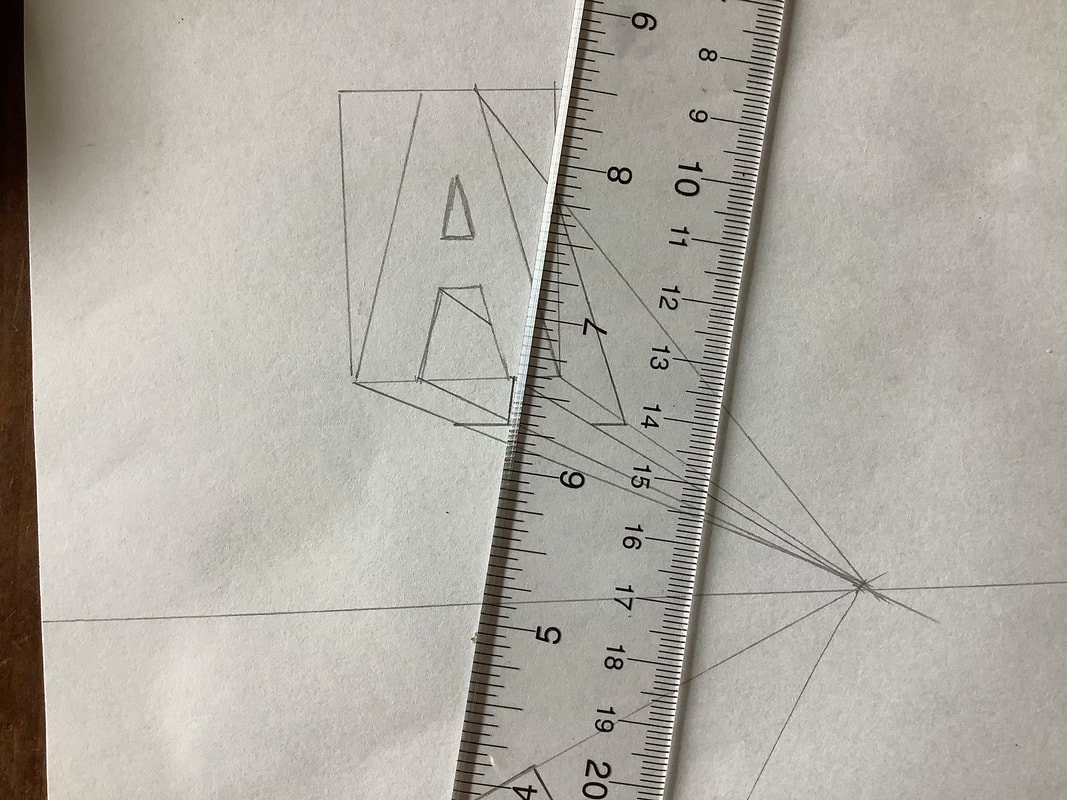
Erase your construction lines
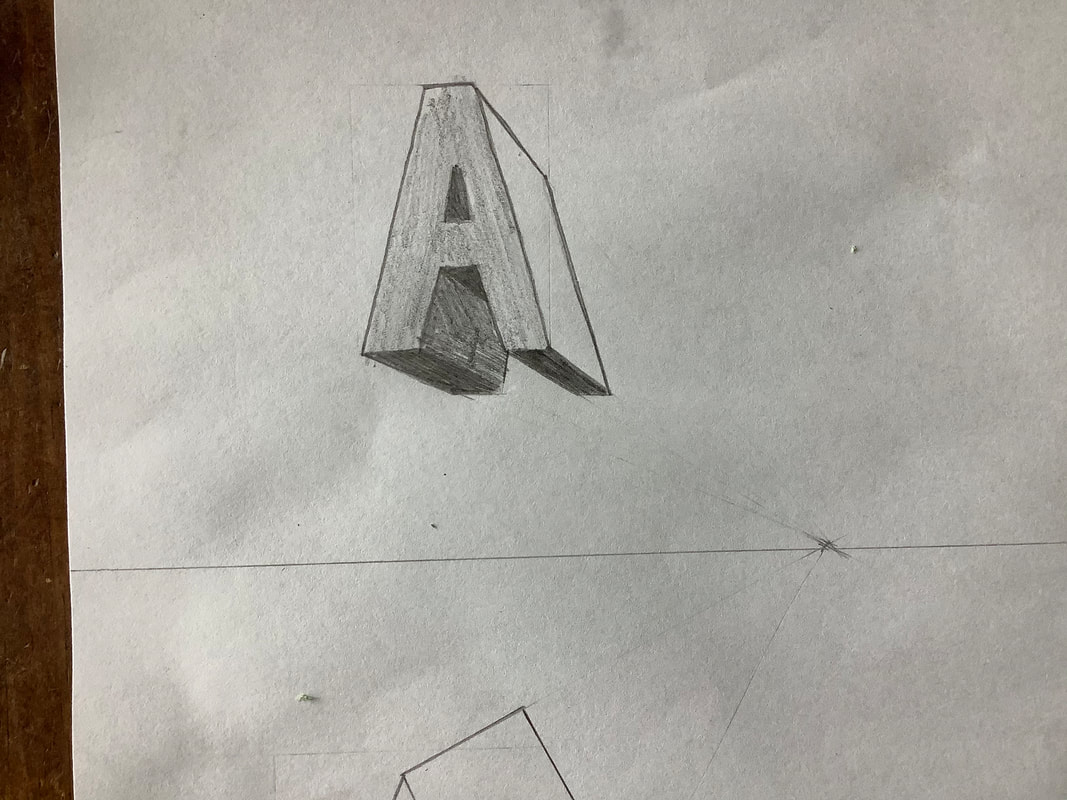
Try to add some shading! Remember that flat your sides should be the same value for the whole side!
